Sunday, November 18, 2012

Pumpkin Art (Sometimes projects take weeks!)

Last week we started this pumpkin art project.  This project had several steps which is why it took so much time.  It's great for students to see that projects can go on for more than one day.  Often in the "real world" we do not start and finish a project in just one day.  We have been looking at the similarities and differences between different types of gourds.  I modeled just making a black and white sketch of a small green gourd.  We studied the variations in shape, width, height, stem, lines, the smooth and bumpy texture on the outside and much more.  


The students then sketched the shape of their pumpkins in JUST pencil. 


On another day, the students gathered around me as 
I traced each line of my pumpkin with Elmer's Glue. 


The students then used their own glue and traced their pumpkins.  
They were able to practice fine motor skills, patience, and concentration. 


After a couple layers of Elmer's Glue and cutting down the paper we began the next step.  We used a glue stick to cover the whole paper with glue. 


Then we pressed aluminum foil over the pumpkin so the glue outline of the pumpkin showed through the foil.  We smoothed and pressed the foil over the glue outlines. 


With a dull pencil we added any groves bumps or any other spots that they found on the pumpkins.  


Below you can see the students following our step-by-step directions! Take a look at the process.


 The pumpkin art was backed on black paper. 
Some of the students still needed to add more pencil markings.


We then used a mixture of clear acrylic paint and liquid water color. 


Once we have the process and labels on our bulletin board,
I will take a picture from the hallway to share with you. 

Thanks for stopping by!
Mrs. Julie Atkin


Monday, November 12, 2012

Nature Scavenger Hunt

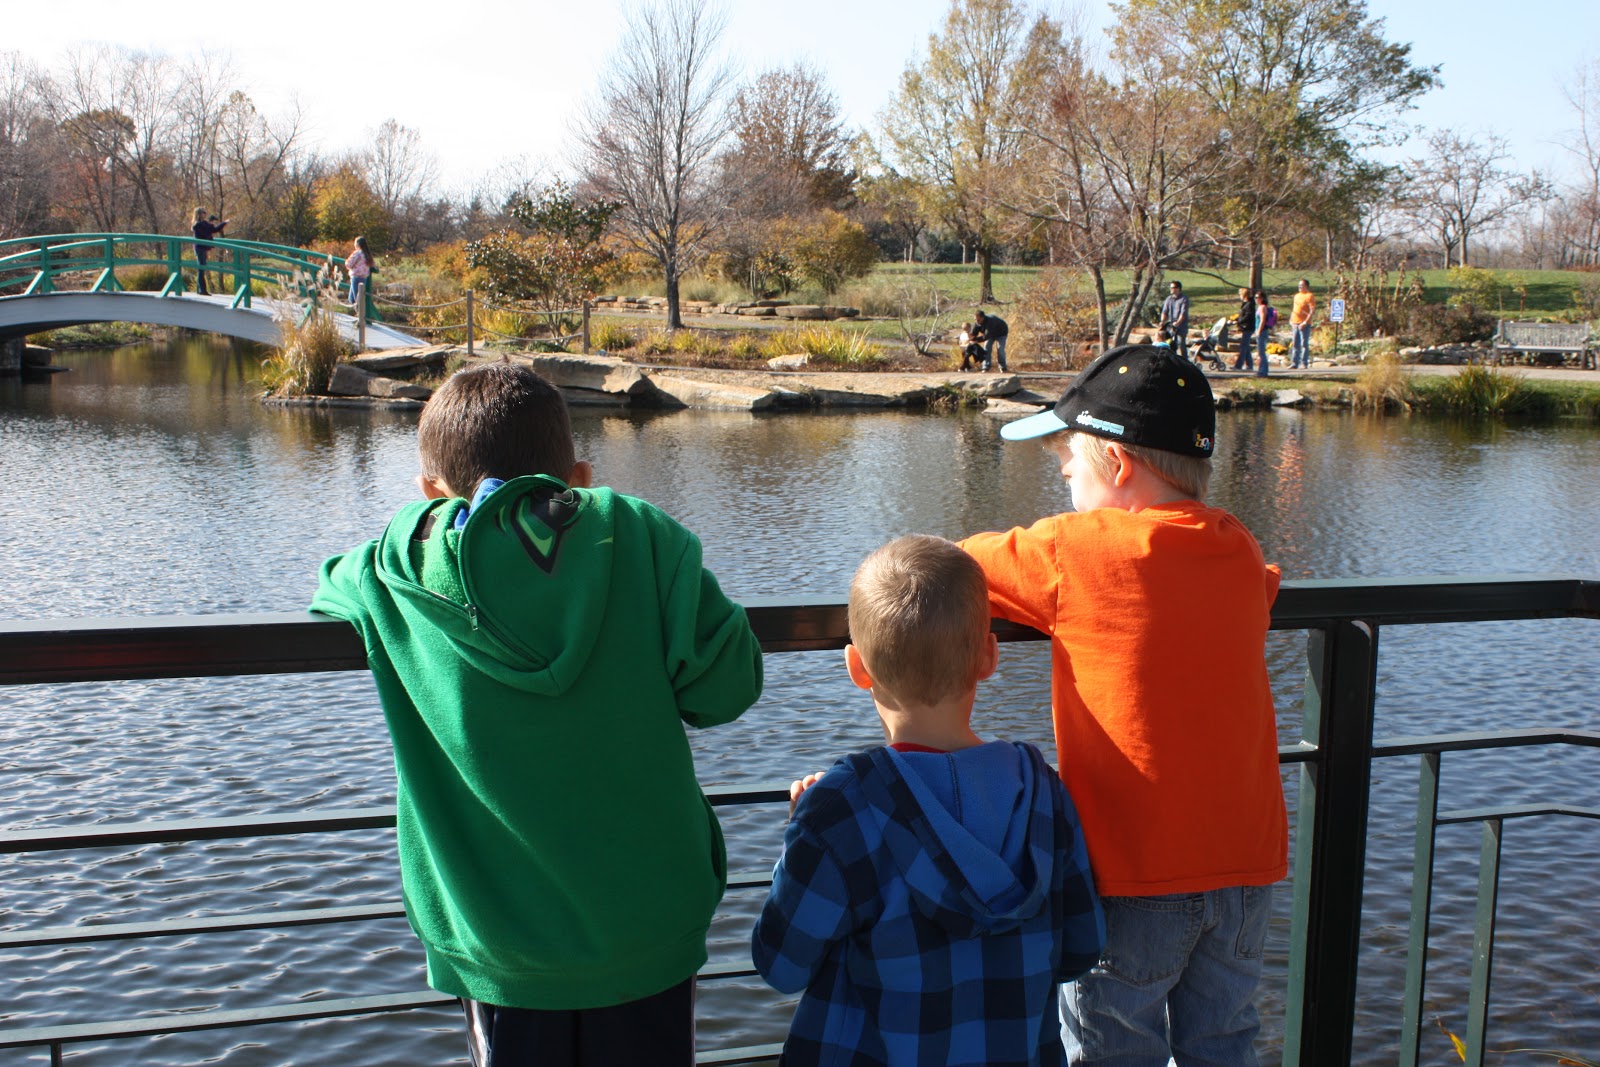
Saturday was our fall nature scavenger hunt at Cox Arboretum.  
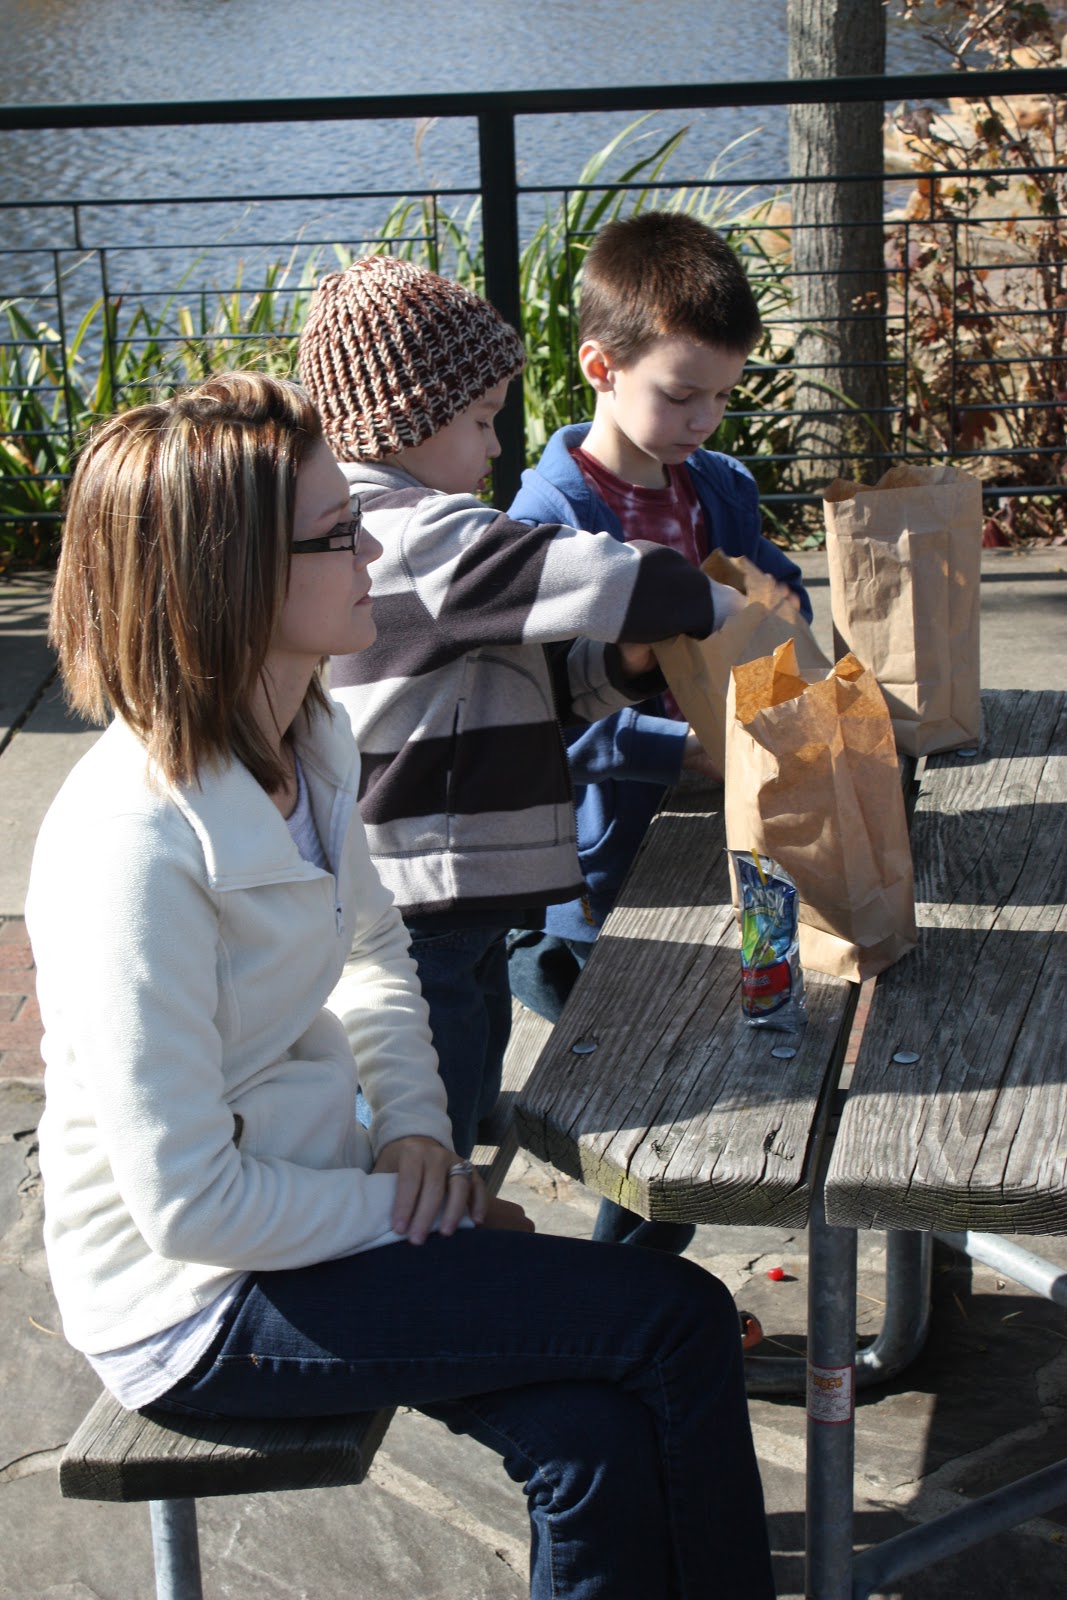
We had several families come.  They ate lunch together and all took a hike together.  
The students were thrilled to see each other and teachers outside of school.  From what I could see it seemed like the parents enjoyed getting to know one another as well. 
They loved looking at the water, the turtles, Zip (the working dog), ducks and much, much more!


Can you tell they found something really cool!


I explained the scavenger hunt before we began...

But we were interrupted by Zip the working dog.  The kids loved seeing Zip do his job but loved being able to just love on him with soft touches.  


Everyone on a nature scavenger hunt must use a magnifying glass!
We passed out the clipboards with a pencil attached and magnifying glass. 


We walked to the trail but we stopped at the lookout tower before going on our hike.  
If you look really hard you might be able to see Mrs. Garrabrant at the top of the lookout tower!


We decided to take the blue trail.  
One group got a little turned around when there was not a sign at a fork but we all made it!  
The blue trail was just over 1 mile long. 


Then the students got to work!  They all worked very well with their parents, friends, and siblings.  


We had a wonderful parent look up to make sure I was correct in saying this was a hedge apple.  
I brought it home to add it to our science exploration area of our classroom. 


We found many bird nests but this one was right at our level!


We found fossils, climbed on the fallen trees, heard the leaves crunch under our feet and even found water dripping from between the rocks. 


We found that Cox Arboretum has their own bee hives!


One of the students favorite parts was right at the end of the hike.  
The students loved chasing each other in the shrub maze. 


I'm thrilled at how fun our scavenger hunt was and how we were so lucky to choose a perfect day!  I would like to try to plan something for the families to do every quarter.  If you have any ideas for the winter season let me know!  

Thank you again for joining us on our scavenger hunt.  It was a huge success!

Mrs. Atkin