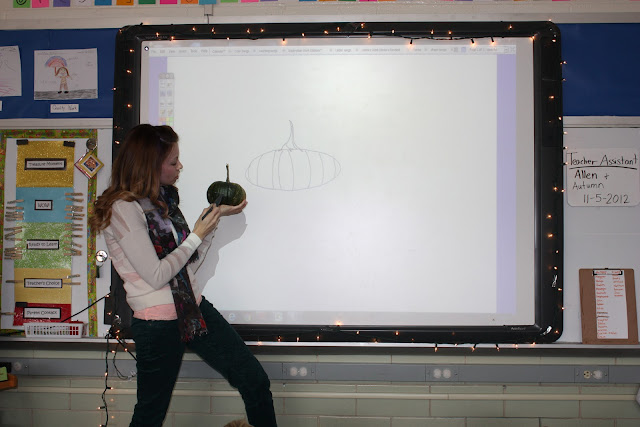
Last week we started this pumpkin art project. This project had several steps which is why it took so much time. It's great for students to see that projects can go on for more than one day. Often in the "real world" we do not start and finish a project in just one day. We have been looking at the similarities and differences between different types of gourds. I modeled just making a black and white sketch of a small green gourd. We studied the variations in shape, width, height, stem, lines, the smooth and bumpy texture on the outside and much more.
The students then sketched the shape of their pumpkins in JUST pencil.
On another day, the students gathered around me as
I traced each line of my pumpkin with Elmer's Glue.
The students then used their own glue and traced their pumpkins.
They were able to practice fine motor skills, patience, and concentration.
After a couple layers of Elmer's Glue and cutting down the paper we began the next step. We used a glue stick to cover the whole paper with glue.
Then we pressed aluminum foil over the pumpkin so the glue outline of
the pumpkin showed through the foil. We smoothed and pressed the foil over the glue outlines.
With a dull pencil we added any groves bumps or any other spots that they found on the pumpkins.
Below you can see the students following our step-by-step directions! Take a look at the process.

The pumpkin art was backed on black paper.
Some of the students still needed to add more pencil markings.


We then used a mixture of clear acrylic paint and liquid water color.
Once we have the process and labels on our bulletin board,
I will take a picture from the hallway to share with you.
Thanks for stopping by!
Mrs. Julie Atkin


No comments:
Post a Comment